Have you ever wanted to sketch out a basketball, perhaps for a school project or just for fun, but thought it might be a bit too tough? Well, Austin and I are right there with you, learning how to put a basketball on paper, and we truly hope you're going to follow along with us. This little art lesson is really quite simple to pick up and is meant for folks just starting out with their drawing tools, but honestly, people of all ages will find something to enjoy here.
In this friendly guide, you'll get to see how to draw a basketball. We're going to go over two different approaches: first, a basic basketball symbol design, and then, a way to make your basketball drawing appear more lifelike. For anyone who enjoys sketching, figuring out how to draw a basketball can be a pretty handy skill, helping your artwork look like the ball could actually bounce right off the page, you know?
Now, while the idea of drawing a basketball might seem a little bit scary to try at first, it's actually very straightforward once you learn to take it apart into smaller bits. We'll look at the initial shape, then add the special marks, and finally, bring it to life with some color. In this rather enjoyable step-by-step walk-through, we're going to show you how to create a pretty cool basketball, and we'll go through each part so you can make it look quite neat with all the proper details.
Table of Contents
- Ready to Learn How to Draw a Basketball?
- Starting Your Artistic Journey to Draw a Basketball
- What Are the Core Shapes to Draw a Basketball?
- Building the Foundation for Your Round Friend
- How Do You Put the Lines on a Basketball Drawing?
- Adding the Unique Pattern and Texture
- Can You Really Make Your Basketball Look Like It's Bouncing?
- Giving Your Art Depth with Shading and Color
- Exploring Simple and Realistic Ways to Draw a Basketball
- Simple Ideas for Your Next Basketball Sketch
Ready to Learn How to Draw a Basketball?
It's always a good feeling when you decide to try something new with your art supplies, isn't it? Getting ready to learn how to draw a basketball means you're about to create something that feels like it has energy and movement, even though it's just on paper. This whole process is really set up to be quite simple, so there's no need to feel any pressure. We're just going to have a good time making some neat pictures together, more or less.
Starting Your Artistic Journey to Draw a Basketball
When you begin your artistic journey to draw a basketball, the first thing to remember is that anyone can do this, regardless of how much experience you have with a pencil. This particular guide is put together with beginners in mind, offering clear instructions that help you create a lifelike basketball with gentle, flowing marks and all the little bits that make it recognizable. You're going to be pretty amazed at just how straightforward it is once you get the hang of what to do, you know? We're going to show you two different ways to sketch a basketball, which is the ball used to play the sport of the same name.
What Are the Core Shapes to Draw a Basketball?
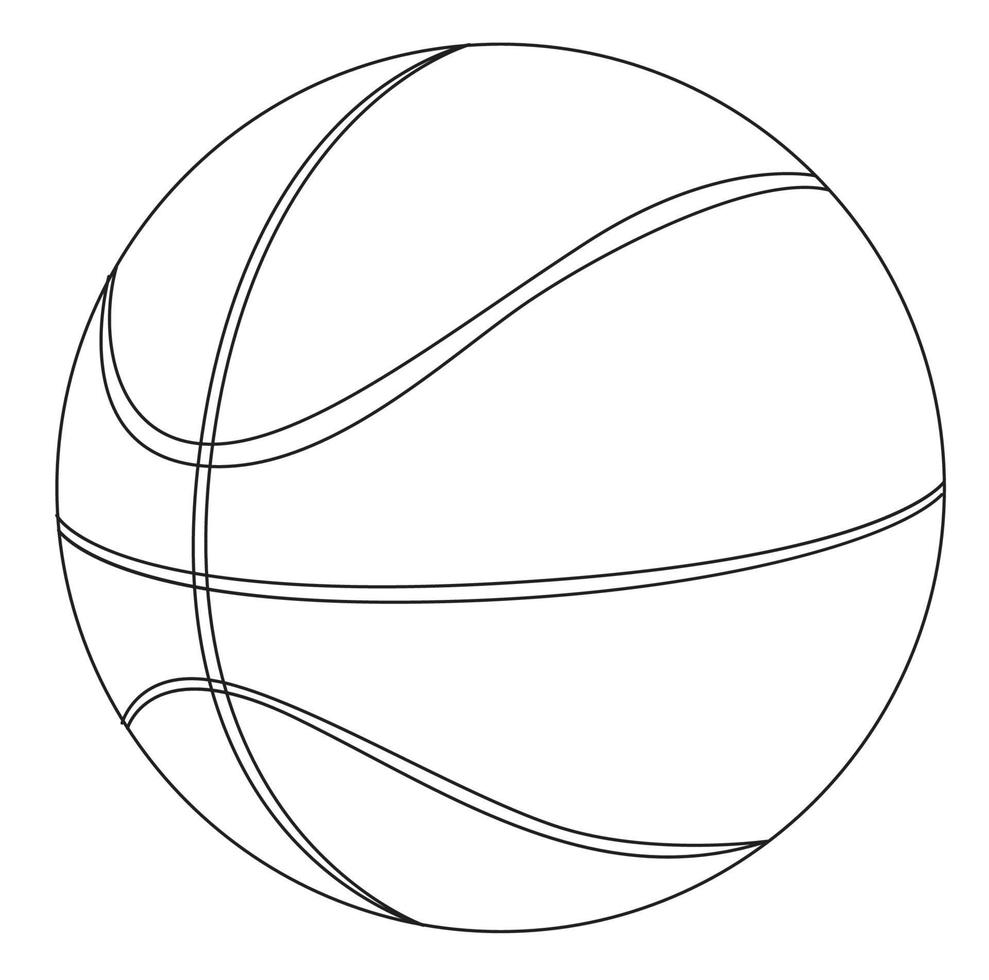
Every drawing, even one that looks quite intricate, begins with something very basic. For a basketball, that core shape is a simple round form. Thinking about how to draw a basketball really starts with getting that initial circle just right. It doesn't have to be perfectly round right away, but getting close helps a lot. You might want to sketch it very lightly at first, so you can easily adjust it as you go along, sort of like finding your footing before a big jump.
Building the Foundation for Your Round Friend
To build the foundation for your round friend, the basketball, you'll typically begin by sketching a circle. This circle will serve as the main body of the ball, so making it roughly the size you want your final drawing to be is a good idea. You can use a compass if you have one, or simply practice drawing freehand circles until you get one that looks pretty good. This initial shape is really the most important part because everything else will be built upon it, you see? It's like setting the stage for all the fun details to come.
How Do You Put the Lines on a Basketball Drawing?
Once you have that nice round shape, the next step is to add the distinctive marks that make a basketball a basketball. These aren't just straight lines; they actually curve around the ball's surface, giving it that familiar look. Figuring out how to put the lines on a basketball drawing means thinking about how they would wrap around a sphere, not just lie flat on a page. It's a bit like imagining a ribbon going around a globe, you know?
Adding the Unique Pattern and Texture
When adding the unique pattern and texture to your basketball, you'll want to draw a central line that goes across the middle of your circle, curving slightly to suggest the ball's roundness. Then, you'll add two more curved lines that branch off from this central line, wrapping around the top and bottom parts of the ball. These lines typically form a kind of "X" shape on each side of the central line, creating those familiar sections. Using a slightly darker pencil or pen for these lines will help them stand out, basically, making your basketball look more defined. You might also add tiny dots or a subtle pebbled texture within these sections to give it that grippy feel, almost like you could reach out and touch it.
Can You Really Make Your Basketball Look Like It's Bouncing?
Making your basketball drawing look like it could actually bounce right off the paper is where shading and color really come into play. It's about giving your two-dimensional drawing a sense of three-dimensional form. This step is where the magic happens, so to speak, where a flat circle truly becomes a round object with weight and presence. It's really quite satisfying to see your drawing gain that kind of depth.
Giving Your Art Depth with Shading and Color
To give your art depth with shading and color, you'll want to think about where the light source is coming from. If the light is hitting the top left of your basketball, then that area will be the brightest, and the opposite side, the bottom right, will be the darkest. You can use different shades of orange – a bright orange for the light areas, a regular orange for the middle tones, and a darker, almost brownish-orange for the shadows. Blending these colors smoothly will help create a gentle transition, making the ball look round rather than flat. You might also add a little shadow on the surface beneath the ball, which helps ground it and makes it appear as though it's resting on something, or ready to spring away, actually.
Exploring Simple and Realistic Ways to Draw a Basketball
As mentioned earlier, there are a couple of main ways to approach drawing a basketball, depending on what you're aiming for. You can go for a simple icon design, which is great for quick sketches or when you need a clear, easy-to-recognize symbol. Or, you can aim for a more realistic basketball, which takes a bit more attention to detail but truly brings the drawing to life. Both methods are valid and pretty fun to try, so you know, it just depends on your mood or purpose.
For the simple icon, you'd typically draw a clean circle and then add the two curved lines that cross over the central horizontal line. These lines would be quite bold and clear, without much in the way of shading or texture. It's like a symbol, very direct and easy to understand at a glance. This style is quite popular for logos or quick illustrations where clarity is key, basically. It’s a very clean look.
When you're going for a more realistic basketball, however, you'll spend more time on the subtle curves of the lines, making sure they truly wrap around the imagined sphere. You'll also pay closer attention to the texture of the ball's surface, perhaps adding tiny bumps or a slightly grainy feel with your pencil. The shading becomes much more important here, using a range of tones to show where light hits and where shadows fall, creating a true sense of volume. This method really makes the ball look like it has weight and could be picked up, which is rather cool, isn't it?
Simple Ideas for Your Next Basketball Sketch
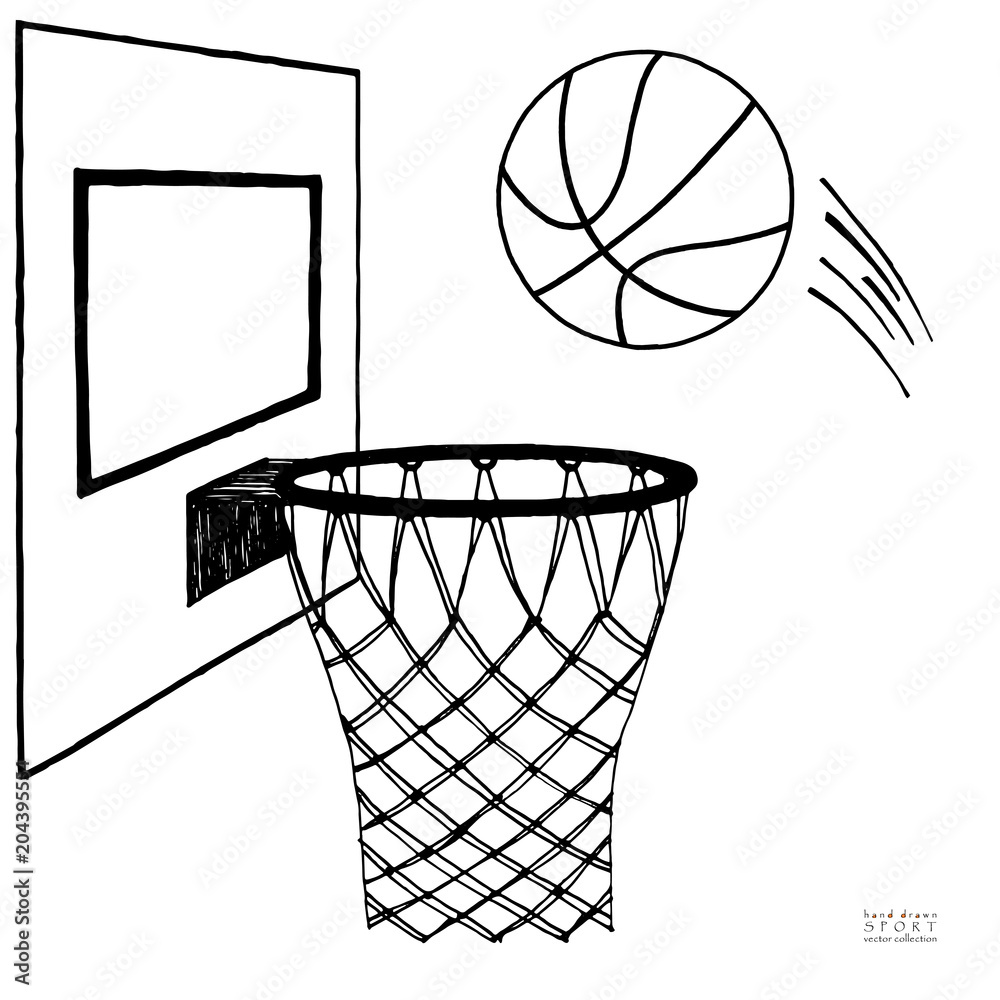
Once you've got the hang of drawing a basic basketball, you might start thinking about different ways to present it in your art. The source material talks about "25 easy basketball drawing ideas," and while we won't list them all, we can certainly think about categories of ideas that could spark your creativity. For instance, you could draw the basketball from different viewing points – looking down on it, looking up at it as if it's in mid-air, or seeing it from the side. Each angle presents a slightly different challenge and helps you understand its form better, you know?
Another idea could be to draw the basketball in various sizes. Maybe a tiny one, or a really big one that fills the page. You could also experiment with drawing the basketball in motion, perhaps with some subtle lines trailing behind it to show movement, or even just sitting still on a court. Trying out different contexts, like having it rest next to a pair of shoes or against a wall, can also add interest to your drawing. It's all about playing around with the core shape and adding little bits to tell a story, in a way. These simple variations can really help you practice and improve your skills, making each new sketch a little bit better than the last.
So, to recap, we've gone over how to start your basketball drawing with basic shapes, how to add those special lines, and how to use shading and color to make your ball look truly round and lifelike. We also touched on the difference between a simple icon style and a more realistic approach, and thought about some ways you can keep exploring your basketball drawing skills with different ideas. For anyone interested in drawing, learning how to put a basketball on paper can be a useful skill to make the ball appear as though it could bounce right off the page, and we hope you found this guide helpful.