So, you’ve got your Raspberry Pi set up, and now you're wondering how to monitor Raspberry Pi remotely? You're not alone. Whether you're a tech enthusiast, a hobbyist, or a professional looking to expand your remote capabilities, monitoring your Raspberry Pi from afar is a game-changer. Imagine being able to access your Pi from anywhere in the world, troubleshoot issues, or even manage your projects without physically being there. Sounds cool, right? Well, buckle up because we’re diving deep into the world of remote Raspberry Pi monitoring, and trust me, it’s easier than you think.
Monitoring Raspberry Pi remotely isn’t just about convenience; it’s about efficiency. Picture this: you’ve set up a home automation system using your Pi, and suddenly something goes wrong. Instead of rushing home to fix it, you can troubleshoot from your office or even while sipping coffee at a café. That’s the power of remote monitoring. But how do you get started? What tools should you use? And most importantly, how do you ensure everything runs smoothly? We’ve got all the answers for you.
In this article, we’ll walk you through everything you need to know about monitoring Raspberry Pi remotely. From setting up SSH and VNC to exploring advanced tools and best practices, we’ve got you covered. So, grab your favorite drink, and let’s dive into the nitty-gritty of remote Raspberry Pi management. Trust me, by the end of this, you’ll be a pro!
Read also:Emilys Diary Chapter 16 A Journey Through Love Heartache And Selfdiscovery
Table of Contents
- Introduction to Remote Raspberry Pi Monitoring
- Understanding the Basics of Raspberry Pi
- Setting Up SSH for Remote Access
- Using VNC for Remote Desktop Access
- Advanced Tools for Monitoring Raspberry Pi Remotely
- Ensuring Security in Remote Connections
- Optimizing Network Settings
- Troubleshooting Common Issues
- Best Practices for Remote Monitoring
- Conclusion and Next Steps
Introduction to Remote Raspberry Pi Monitoring
Alright, let’s kick things off with the basics. Monitoring Raspberry Pi remotely is all about gaining access to your Pi from anywhere in the world. Whether you’re managing a home server, running IoT devices, or just tinkering with some cool projects, remote monitoring gives you the flexibility to stay connected without being physically present.
Now, why would you want to monitor Raspberry Pi remotely? Well, think about the convenience. You can check system status, update software, or even reboot your Pi without lifting a finger near the actual device. Plus, it’s a great way to keep tabs on your projects, especially if you’re running critical applications that need constant attention.
But here’s the thing: remote monitoring isn’t just about accessing your Pi. It’s about doing it securely and efficiently. In this section, we’ll cover the fundamentals of remote monitoring, including the tools and methods you’ll need to get started. So, let’s dive in!
Understanding the Basics of Raspberry Pi
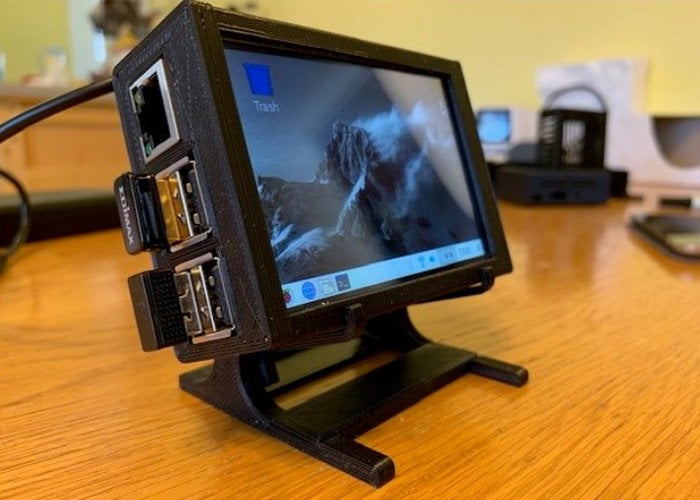
Before we dive into the nitty-gritty of remote monitoring, let’s take a step back and understand what makes Raspberry Pi so special. The Raspberry Pi is a tiny, affordable computer that packs a punch. It’s perfect for hobbyists, educators, and professionals alike, offering endless possibilities for projects ranging from home automation to robotics.
Here are some key features of the Raspberry Pi:
- Compact size and low power consumption
- Support for multiple operating systems, including Raspbian and Ubuntu
- Built-in GPIO pins for connecting sensors and actuators
- Compatibility with a wide range of accessories and add-ons
Understanding these basics is crucial because it sets the foundation for everything you’ll do with remote monitoring. Whether you’re setting up SSH or configuring advanced tools, knowing your Pi inside and out will make the process smoother.
Read also:Is Kat Dennings A Republican Unveiling The Truth Behind Her Political Views
Why Choose Raspberry Pi for Remote Monitoring?
There are plenty of reasons why Raspberry Pi is the go-to choice for remote monitoring. First off, it’s affordable. You don’t need to invest in expensive hardware to get started. Plus, the community around Raspberry Pi is massive, meaning you’ll always find support, tutorials, and resources to help you along the way.
Another advantage is its versatility. You can use Raspberry Pi for a wide range of applications, from simple monitoring tasks to complex server setups. And with its low power consumption, you can leave it running 24/7 without worrying about skyrocketing electricity bills.
Setting Up SSH for Remote Access
Alright, let’s talk about SSH. SSH, or Secure Shell, is one of the most popular methods for accessing Raspberry Pi remotely. It allows you to connect to your Pi via the command line, giving you full control over the system from anywhere in the world.
Here’s how you can set up SSH on your Raspberry Pi:
- Enable SSH on your Pi by navigating to
sudo raspi-configand selecting the SSH option. - Connect your Pi to the internet using Ethernet or Wi-Fi.
- Find the IP address of your Pi by running
ifconfigin the terminal. - Use an SSH client like PuTTY (Windows) or Terminal (Mac/Linux) to connect to your Pi using the IP address.
Once you’ve set up SSH, you’ll have access to your Pi’s command line interface, allowing you to manage files, install software, and perform system updates without being physically present.
Benefits of Using SSH
SSH offers several advantages when it comes to remote Raspberry Pi monitoring:
- Secure connection with encryption
- Lightweight and easy to set up
- Full control over the command line
Whether you’re a beginner or an experienced user, SSH is a must-have tool in your Raspberry Pi arsenal.
Using VNC for Remote Desktop Access
While SSH is great for command-line access, sometimes you need a graphical interface to get things done. That’s where VNC comes in. VNC, or Virtual Network Computing, allows you to access your Raspberry Pi’s desktop environment remotely, giving you a more intuitive way to interact with your system.
Here’s how you can set up VNC on your Raspberry Pi:
- Install the VNC Server on your Pi by running
sudo apt install realvnc-vnc-server. - Enable VNC by navigating to
sudo raspi-configand selecting the VNC option. - Download the VNC Viewer app on your computer or mobile device.
- Connect to your Pi using the IP address and your login credentials.
With VNC, you’ll have full access to your Pi’s desktop, making it easier to manage files, run applications, and troubleshoot issues.
When to Use VNC Instead of SSH
While SSH is perfect for command-line tasks, VNC shines when you need a graphical interface. Here are some scenarios where VNC is the better choice:
- Managing graphical applications like media players or web browsers
- Running software that requires a GUI
- Debugging issues that are easier to resolve with a visual interface
Ultimately, the choice between SSH and VNC depends on your specific needs. Some users even use both methods depending on the task at hand.
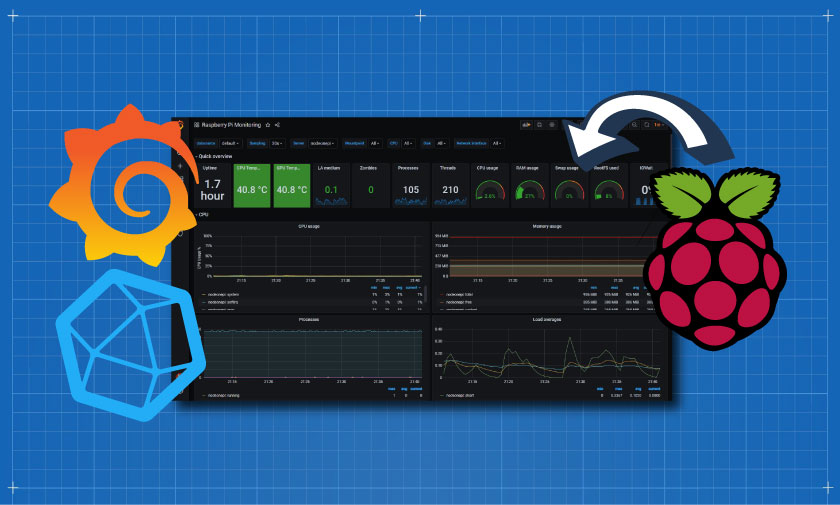
Advanced Tools for Monitoring Raspberry Pi Remotely
SSH and VNC are great, but sometimes you need more advanced tools to monitor your Raspberry Pi remotely. Fortunately, there are plenty of options available, ranging from free open-source software to paid solutions. Let’s take a look at some of the best tools for remote Raspberry Pi monitoring:
- TeamViewer: A popular remote access tool that offers both free and paid versions. It’s easy to set up and provides a seamless remote desktop experience.
- NoMachine: A lightweight remote access tool that offers high performance and low latency, making it perfect for Raspberry Pi users.
- Webmin: A web-based interface for system administration, allowing you to manage your Pi’s settings and services remotely.
These tools offer additional features like file transfer, remote printing, and even remote backup, making them invaluable for more advanced users.
Choosing the Right Tool for Your Needs
When selecting a tool for remote Raspberry Pi monitoring, consider the following factors:
- ease of use
- compatibility with your Pi’s hardware and software
- security features
- cost (free vs. paid)
By choosing the right tool, you’ll ensure a smooth and efficient remote monitoring experience.
Ensuring Security in Remote Connections
Security is a top priority when it comes to remote Raspberry Pi monitoring. After all, you don’t want unauthorized access to your system. Here are some best practices to keep your Pi secure:
- Use strong passwords and enable two-factor authentication (2FA) whenever possible.
- Keep your software and firmware up to date to protect against vulnerabilities.
- Use a firewall to restrict access to your Pi and only allow trusted IP addresses.
- Encrypt your connections using SSH or SSL to prevent data interception.
By following these security measures, you’ll ensure that your Raspberry Pi remains safe and secure, even when accessed remotely.
Optimizing Network Settings
Network settings play a crucial role in remote Raspberry Pi monitoring. A stable and fast connection is essential for smooth operation. Here are some tips to optimize your network settings:
- Use a wired Ethernet connection whenever possible for better stability.
- Configure your router to assign a static IP address to your Pi.
- Set up port forwarding to allow external access to your Pi.
- Use a dynamic DNS service to access your Pi from anywhere in the world.
By optimizing your network settings, you’ll ensure a seamless remote monitoring experience without any hiccups.
Troubleshooting Common Issues
Even with the best setup, things can go wrong. Here are some common issues you might encounter when monitoring Raspberry Pi remotely and how to fix them:
- Connection Issues: Check your network settings and ensure that your Pi is properly connected to the internet.
- Authentication Problems: Verify your login credentials and ensure that SSH or VNC is properly configured.
- Slow Performance: Optimize your network settings and consider upgrading your hardware if necessary.
By troubleshooting these issues, you’ll ensure a smooth and hassle-free remote monitoring experience.
Best Practices for Remote Monitoring
Finally, let’s talk about some best practices for remote Raspberry Pi monitoring:
- Regularly back up your data to prevent loss in case of hardware failure.
- Monitor system logs for any unusual activity or errors.
- Set up alerts for critical events, such as high CPU usage or disk space warnings.
By following these best practices, you’ll ensure that your Raspberry Pi runs smoothly and efficiently, even when accessed remotely.
Conclusion and Next Steps
And there you have it—everything you need to know about monitoring Raspberry Pi remotely. From setting up SSH and VNC to exploring advanced tools and best practices, we’ve covered it all. Whether you’re a beginner or an experienced user, remote monitoring opens up a world of possibilities for managing your Raspberry Pi projects.
So, what’s next? Start by setting up SSH or VNC on your Pi and experimenting with different tools to find what works best for you. Don’t forget to prioritize security and optimize your network settings for the best performance.
And hey, if you found this article helpful, why not share it with your friends or leave a comment below? We’d love to hear your thoughts and experiences with remote Raspberry Pi monitoring. Until next time, happy tinkering!